This self-learning mode supports two methods for ingesting historical support data. The steps for each are outlined below:
1. Learning from Uploaded Files
2. Learning from Synchronized Historical Tickets
1. “Learning from Uploaded Files”:
Step-by-Step Guide
Step 1: Upload Conversation Data for Solvea to Process

① From the left navigation panel, go to “Knowledge Center” > “Knowledge Gap” > “Settings”.
② Select “Historical Support Data” (or “Past Interactions”) > “Upload Dialogues”.

③ Choose “Learn from file” and click “Upload Files”.

④ Download the provided data template.
⑤ Populate the template with historical conversation data, then upload the completed file and click “Confirm” to initiate Solvea’s learning process.


⑥ Allow Solvea to complete the learning cycle (progress will be displayed). The outcomes of this learning session can then be reviewed in the “Topic List”.
Step 2: Knowledge Management & Refinement


① Click on a knowledge item to review the detailed topic content.
② If Solvea’s extracted content needs refinement, click the [Edit] icon to manually edit it based on the learned material.
③ View associated tickets for the selected topic.
④ Access detailed information about the topic.
⑤ Add relevant tags to the topic for better organization.
⑥ After verification, integrate the knowledge into the Knowledge Base. Successfully added items will be marked as “Added.” Solvea can then immediately leverage this new knowledge to assist users.
⑦ Return to the learning list to verify the knowledge item’s “Added” status (as indicated by ⑧).
2. Learning from Synchronized Historical Tickets
Step-by-Step Guide
Step 1: Initiate Ticket Synchronization for Solvea’s Learning

① From the left navigation panel, go to “Knowledge Center” > “Knowledge Gap” > “Settings”.
② Select “Historical Support Data” (or “Past Interactions”).
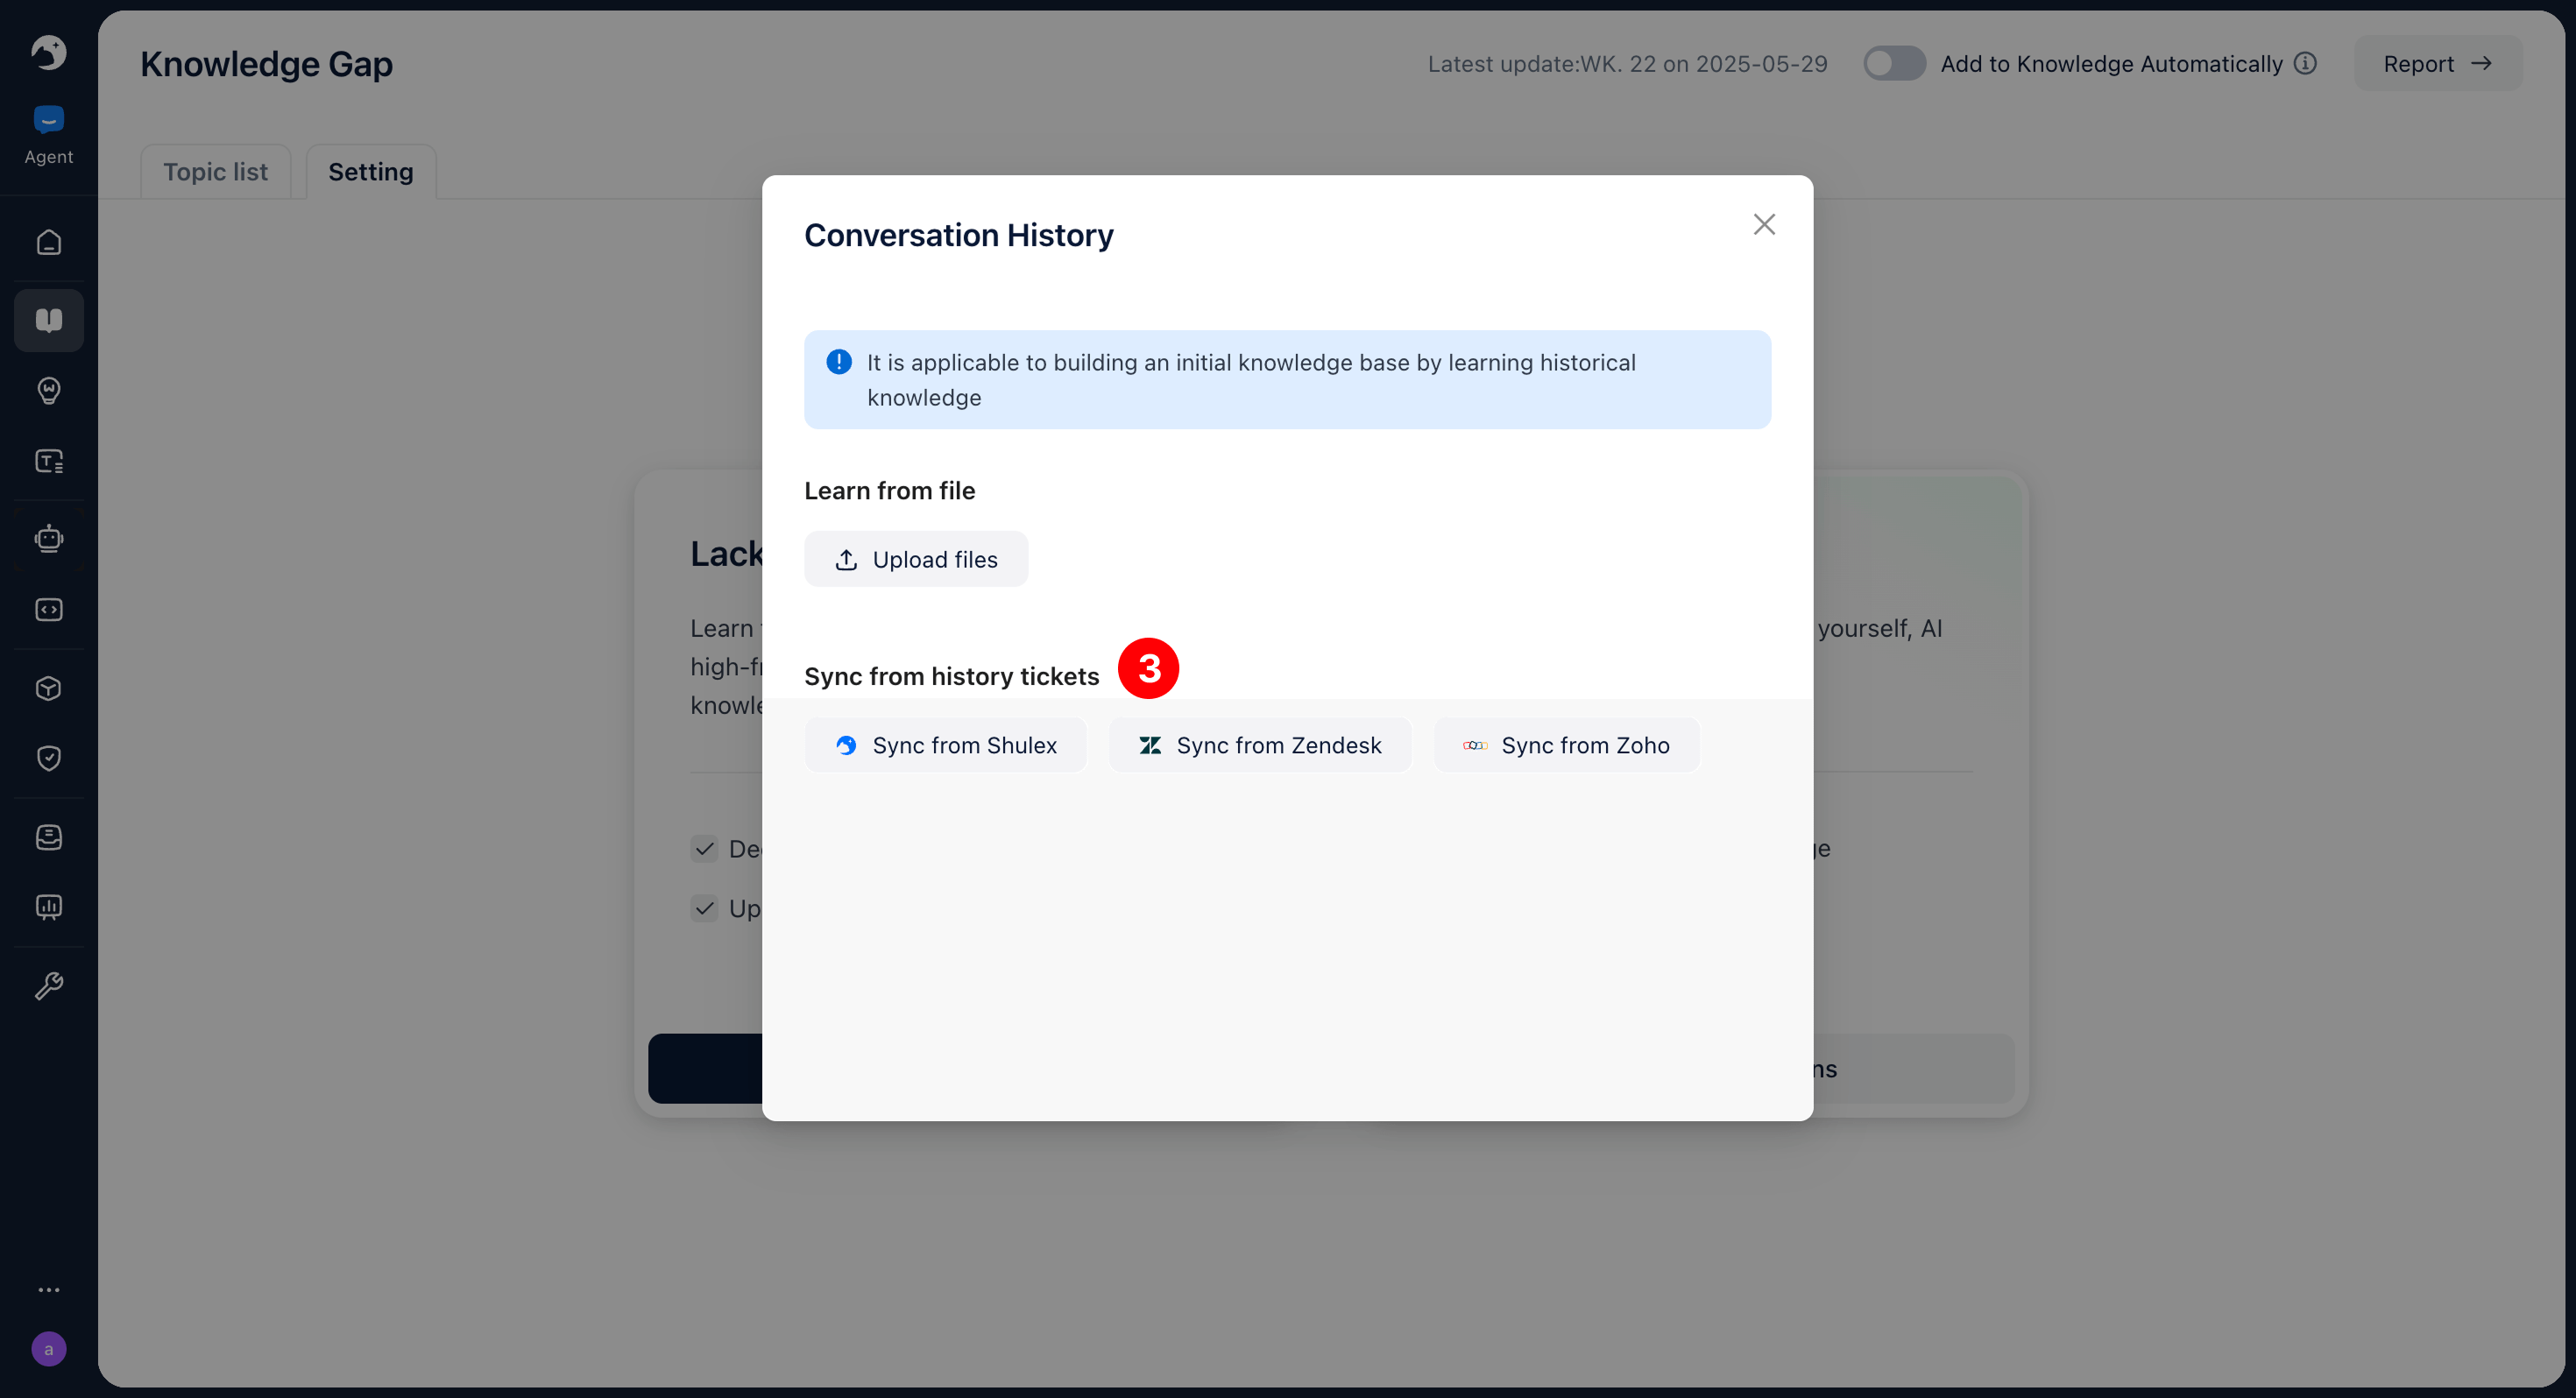
③ Choose “Learn from synchronized historical tickets.” Supported integrations currently include Shulex, Zendesk, and Zoho.

④ Define the scope (e.g., date range) for ticket synchronization. Solvea will process tickets within this scope to learn and extract knowledge.


⑤ Allow Solvea to complete the learning cycle (progress will be displayed). The outcomes of this learning session can then be reviewed in the “Topic List”.
Step 2: Knowledge Management & Refinement


① Click on a knowledge item to review the detailed topic content.
② If Solvea’s extracted content needs refinement, click the [Edit] icon to manually edit it based on the learned material.
③ View associated tickets for the selected topic.
④ Access detailed information about the topic.
⑤ Add relevant tags to the topic for better organization.
⑥ After verification, integrate the knowledge into the Knowledge Base. Successfully added items will be marked as “Added.” Solvea can then immediately leverage this new knowledge to assist users.
⑦ Return to the learning list to verify the knowledge item’s “Added” status (as indicated by ⑧).
🎵 Tips:
When managing topics, you can also:

① Search and locate specific topic content.
② Filter topics by learning date/time.
③ Filter topics by their source.
④ Filter topics by detected customer intent.
⑤ Access analytics reports to evaluate Solvea’s self-learning performance and outcomes.